We’re glad to have you as a Black Chamber Fort Wayne member! To help you get the most out of your membership, we’ve prepared a comprehensive guide detailing the necessary steps to create your listing for our online ‘Business Directory.’
1 ) Click ‘Sign In’
Located next to the ‘Become A Member’ button on the homepage.

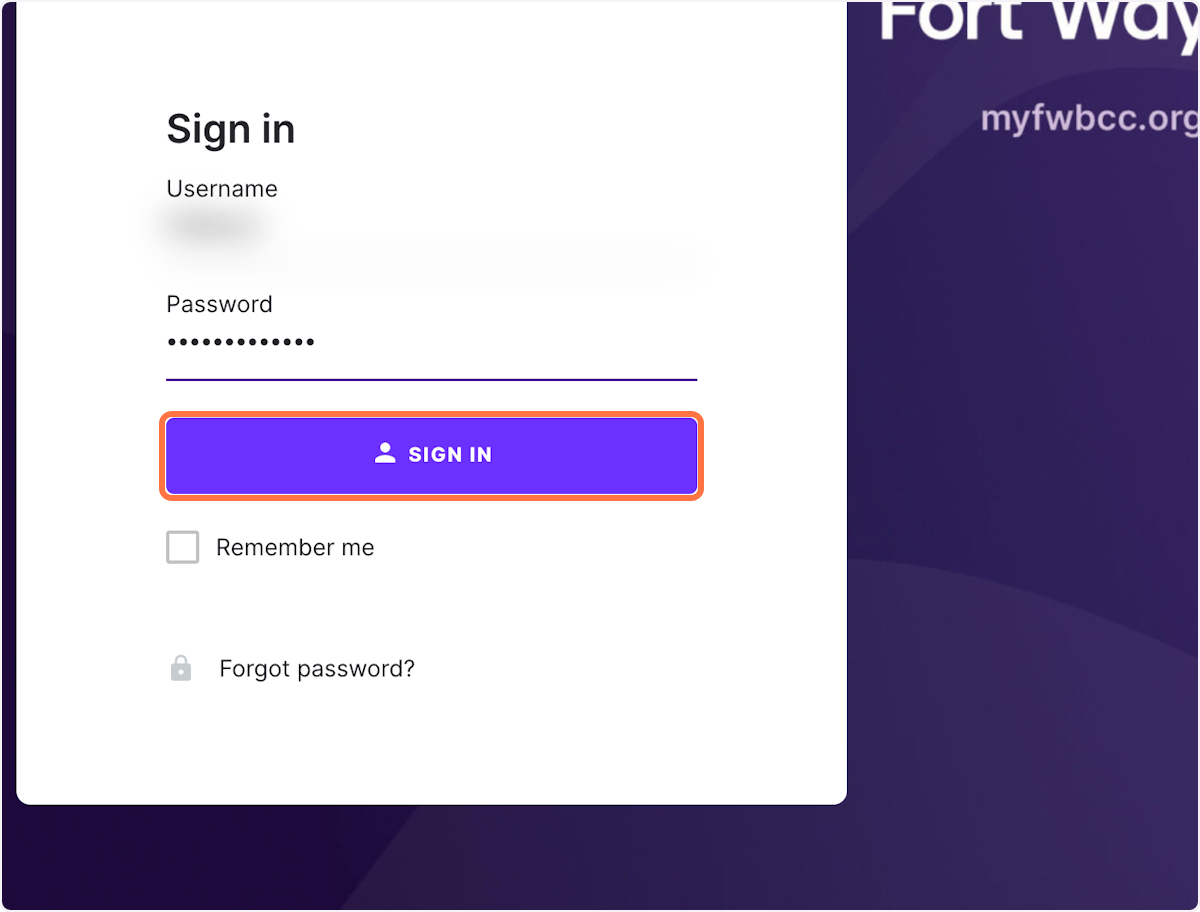
2 ) Sign in to your profile/dashboard
Enter your member “Username” and “Password” before clicking the “Sign In” button.
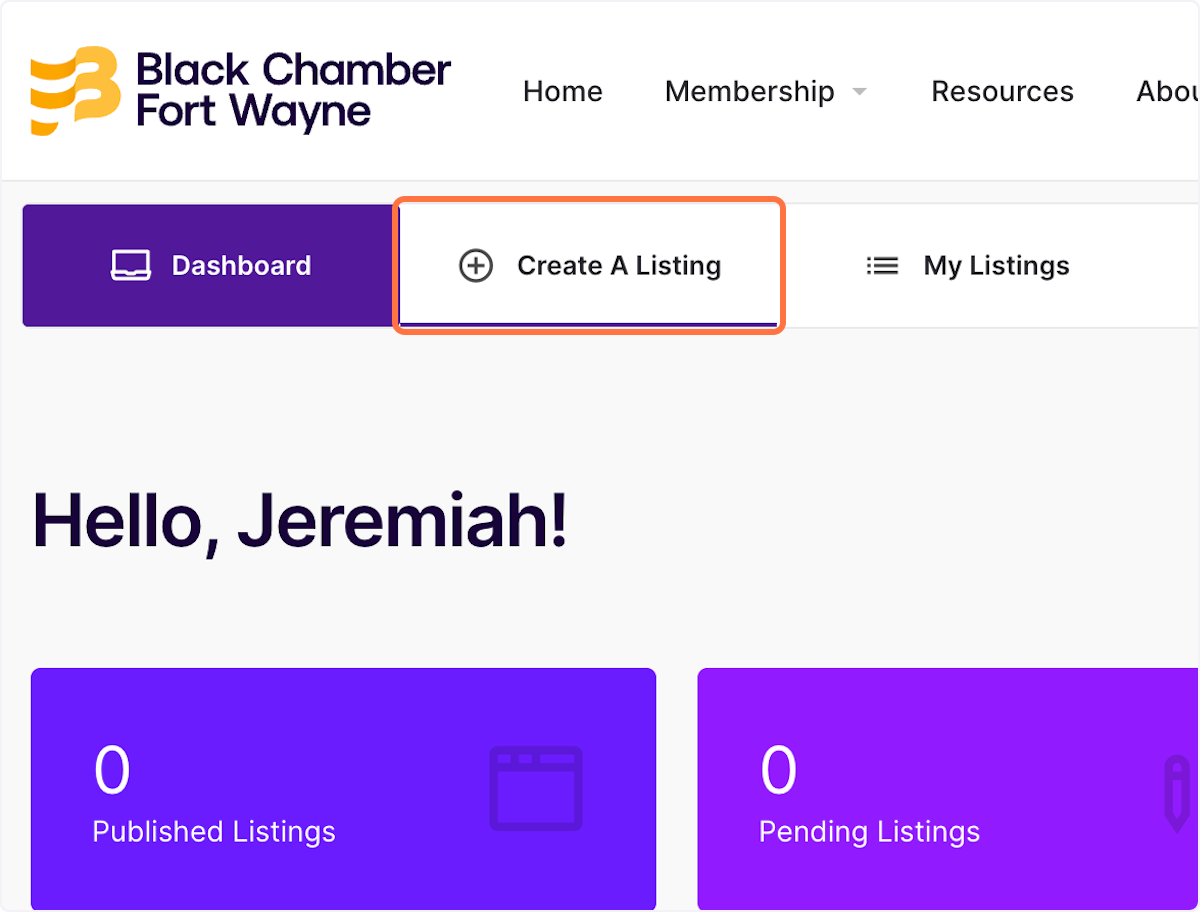
3 ) Click on ‘Create A Listing’
After signing into your profile, you will be directed to your “Member Dashboard,” where you can create your listing.
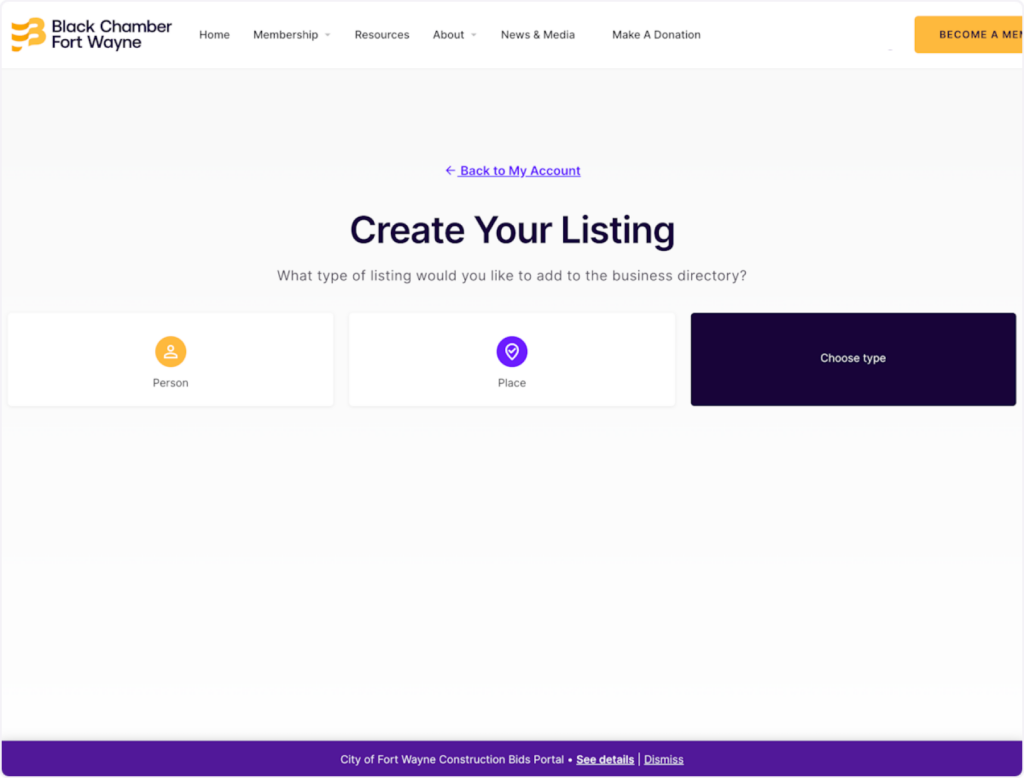
4 ) Select the ‘Type of Listing’
Choose the type of listing that you would like to add to the business directory.
5 ) Click on the ‘Create A Listing’ button
Scroll down until you see the button below. Your current member package should be selected.

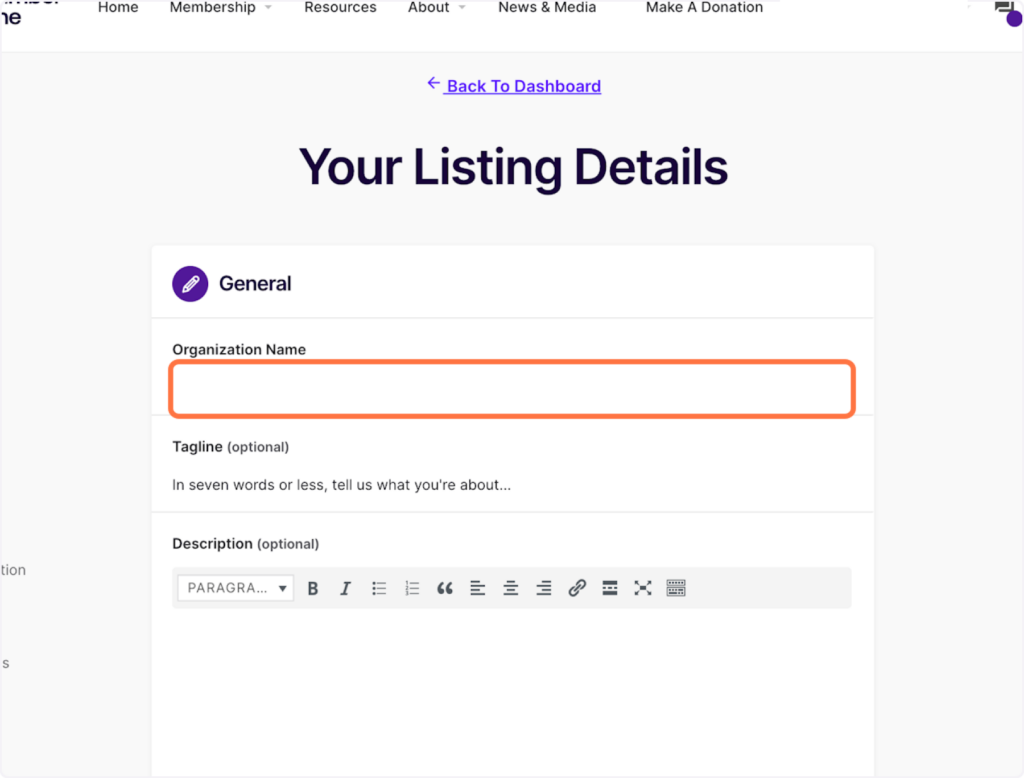
6 ) Fill out ‘Your Listing Details’
Click the blank box under ‘Organization Name’ to input your name or company name.
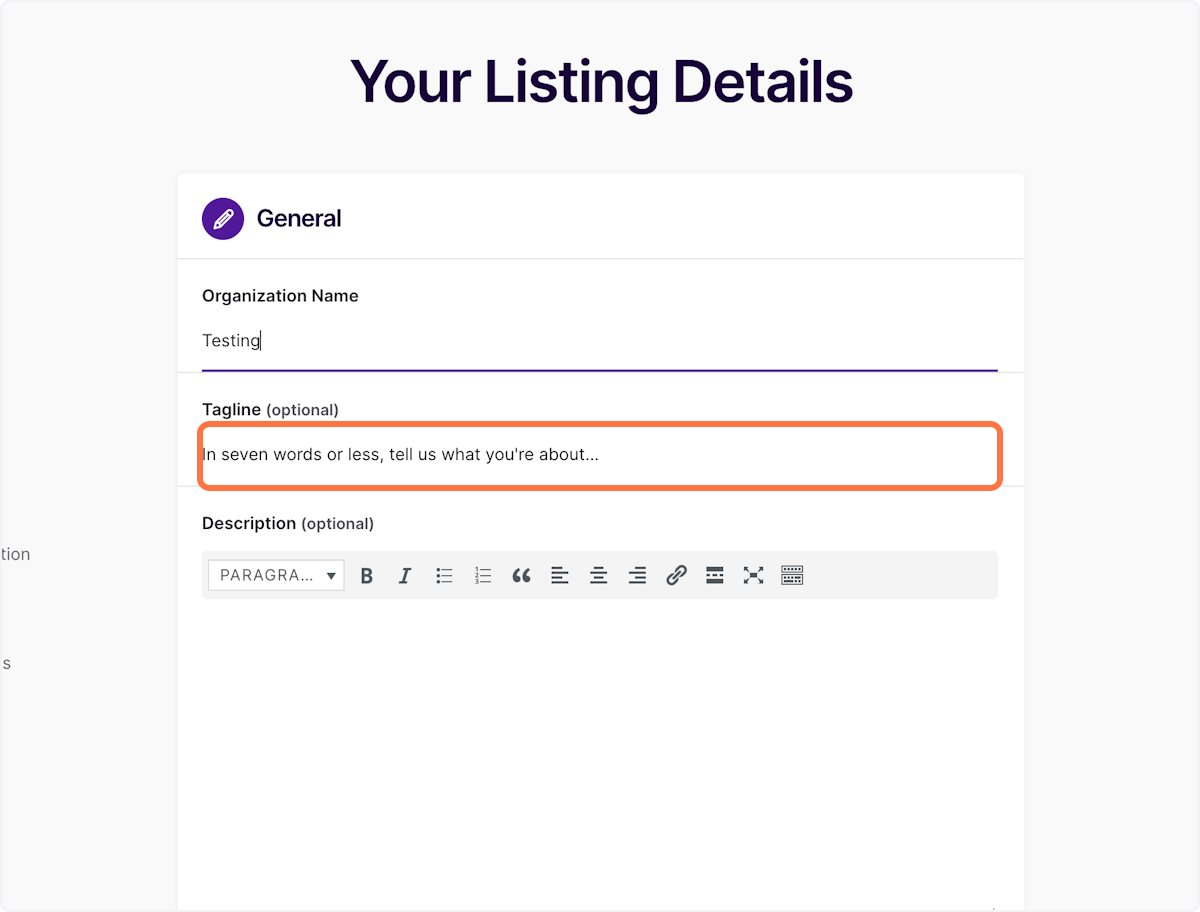
7 ) Click on the blank box under ‘Tagline’
This box is (optional). If you do not have a tagline, feel free to skip this step.
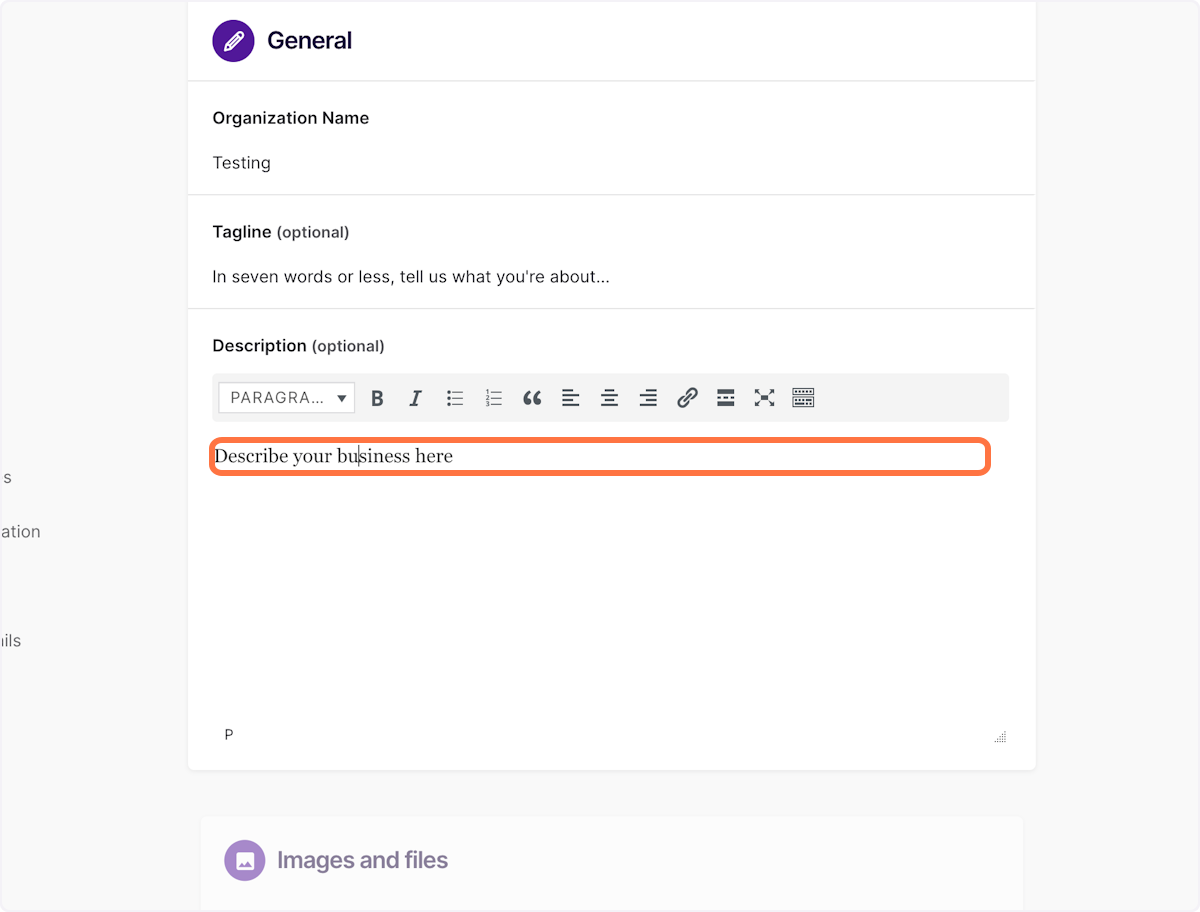
8 ) Click on the blank box under ‘Description’
This box is (optional). If you’re unsure of how to describe your listing, feel free to skip this step.
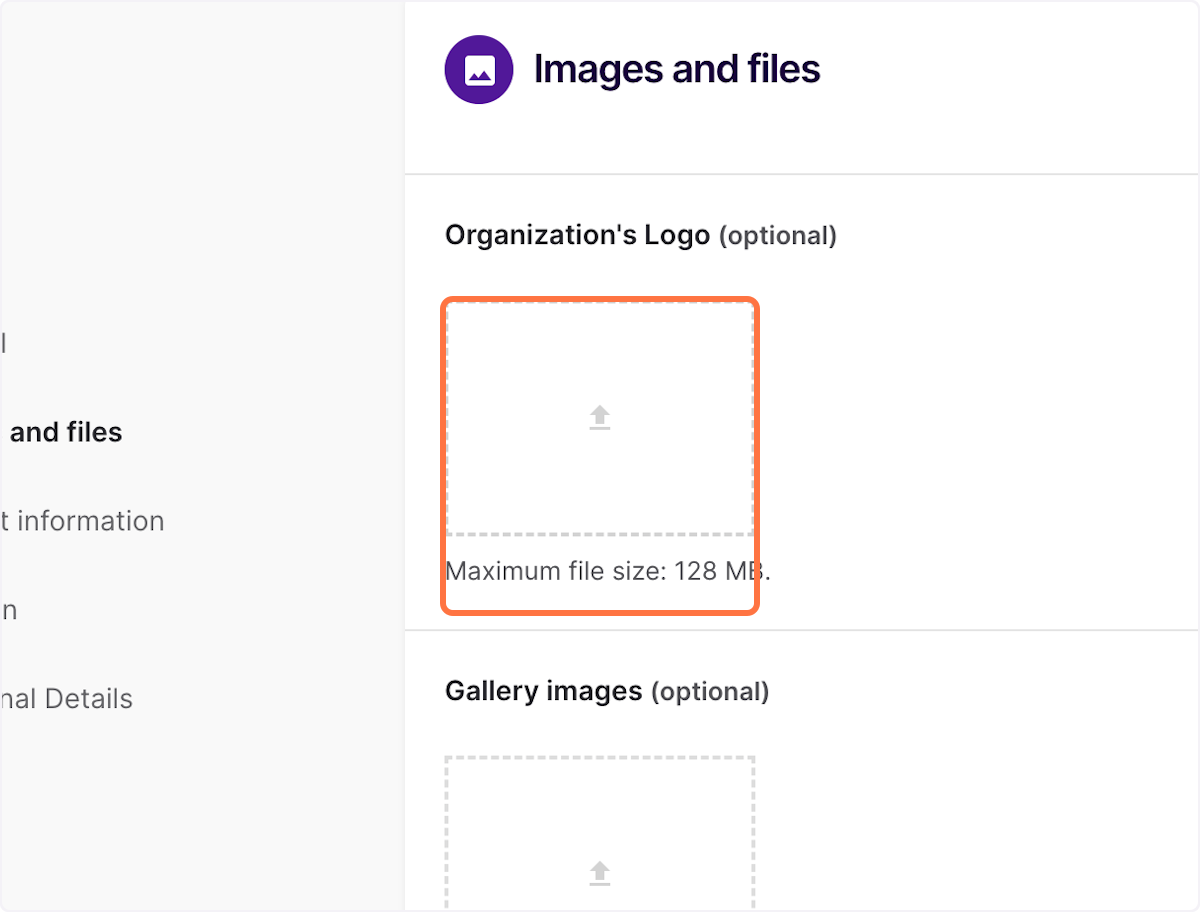
9 ) Upload your ‘Business Logo’
Click on the box under ” Business Logo” to upload your Logo.
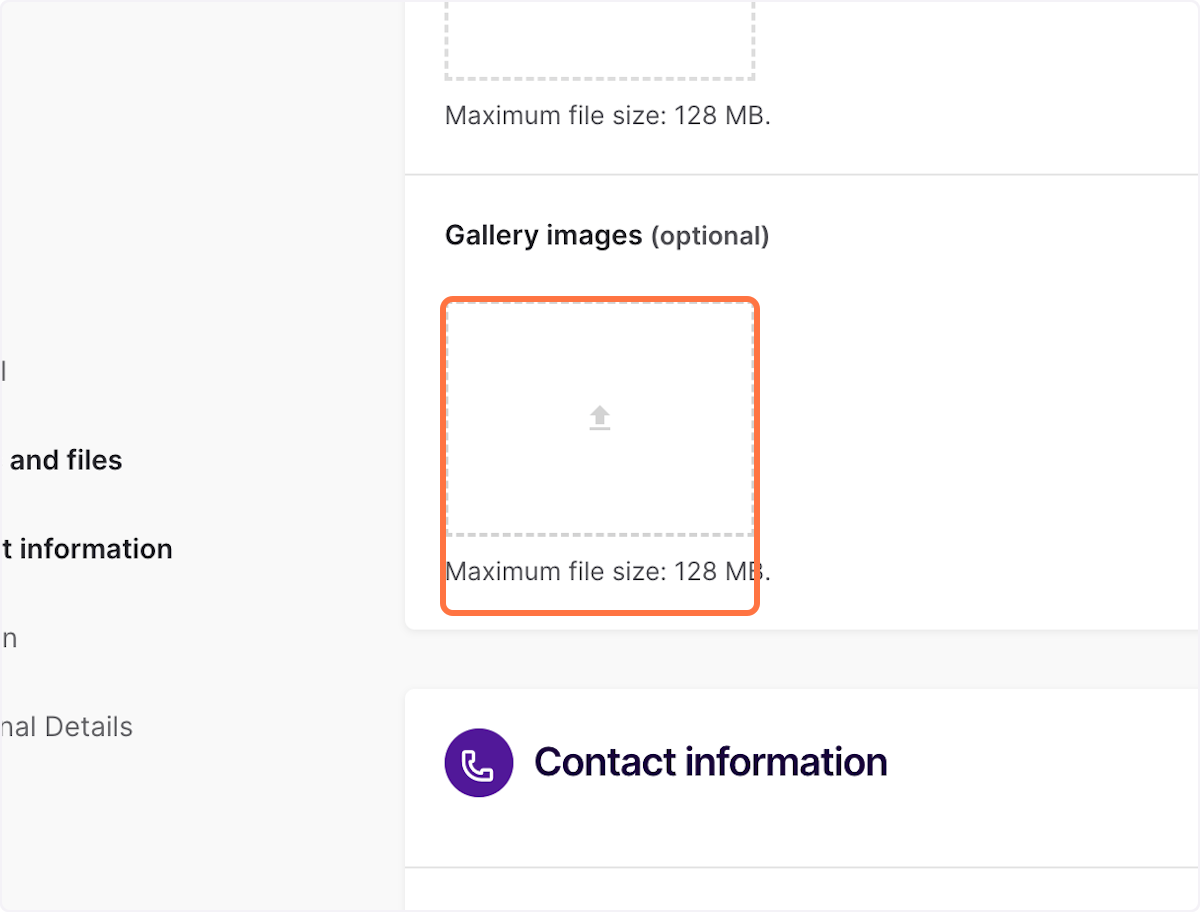
10 ) Upload ‘Image / Photos’ to your listing
Click “Gallery images” (optional) to upload any business-related photos.
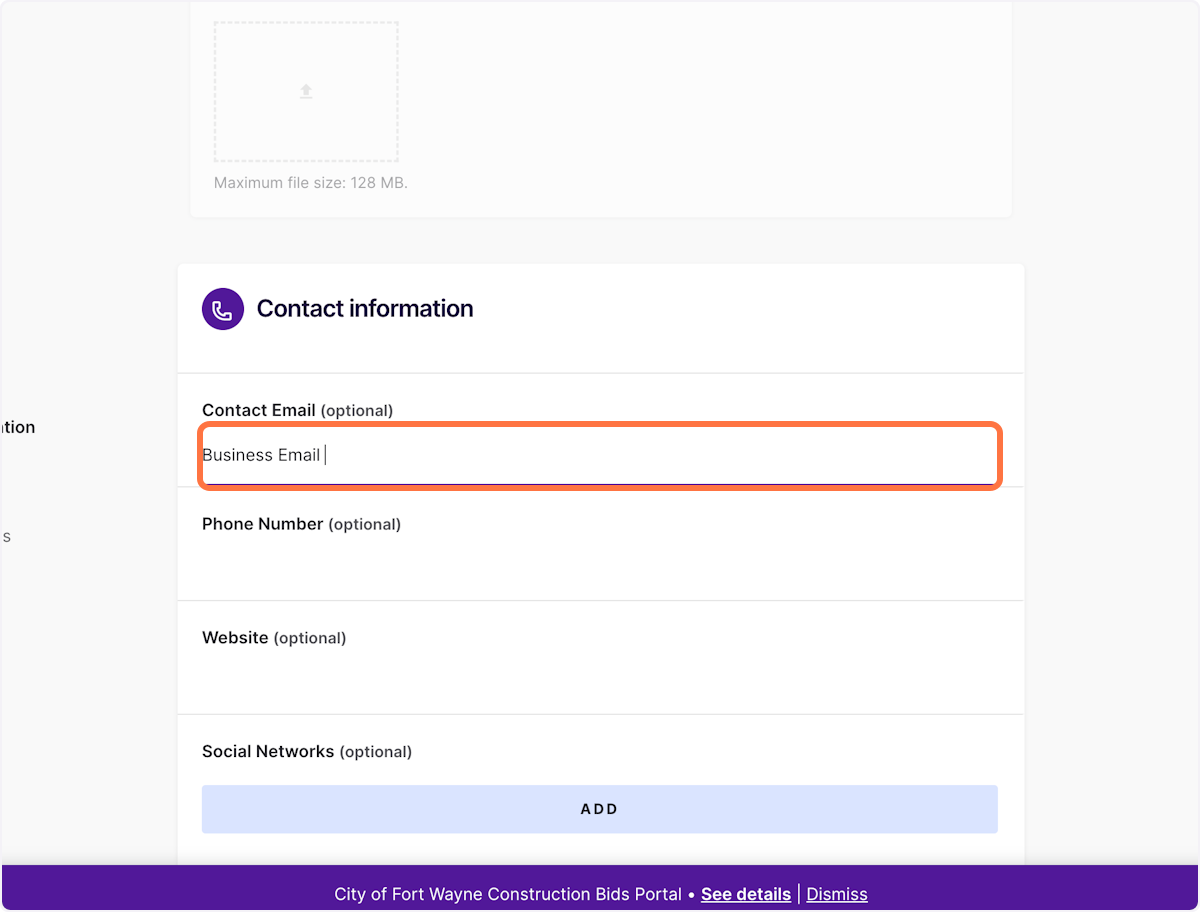
11 ) Fill out your ‘Contact Information’
Input your “Email” into the blank field. It can be your personal or business email — members will use this email to contact you.
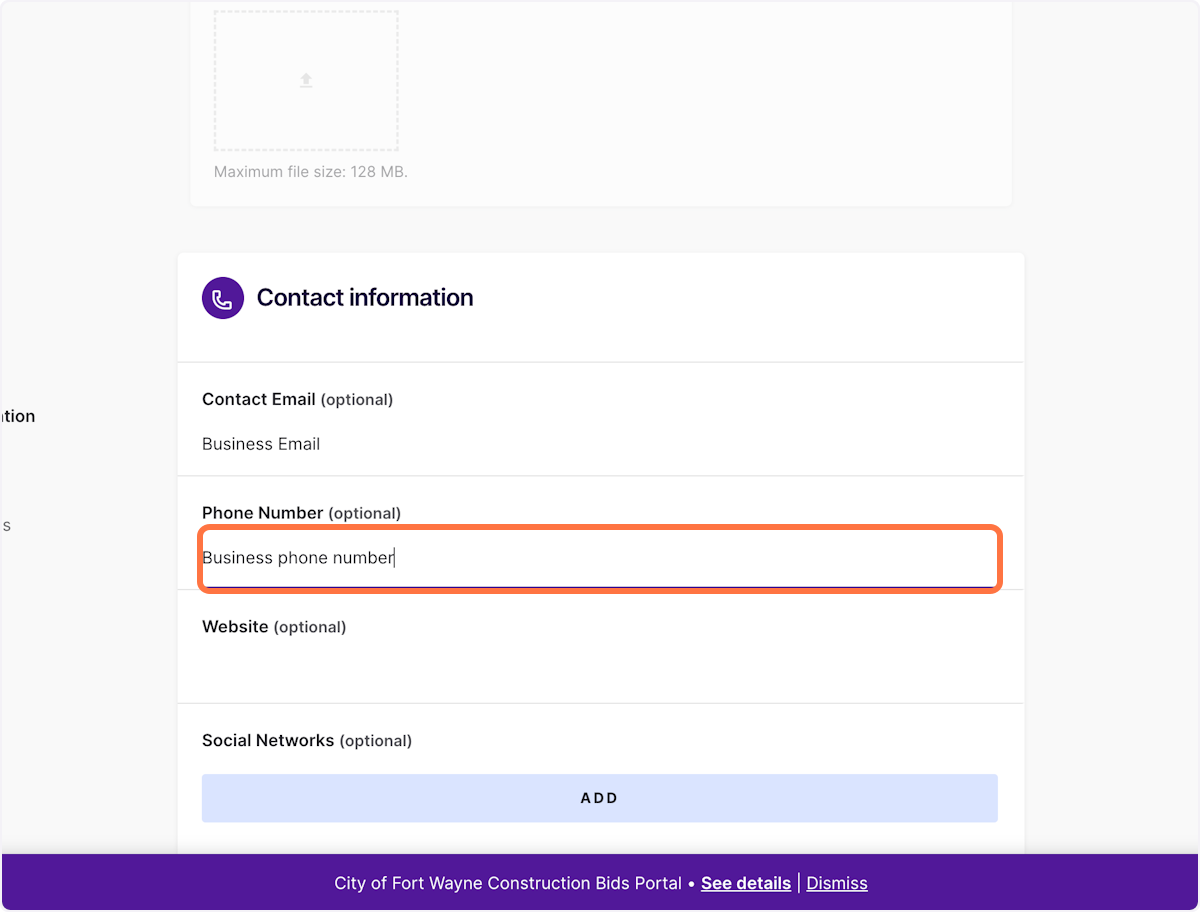
12 ) Input your ‘Phone Number’
Submitting your contact information is optional but encouraged.
13 ) Input your ‘Website’
Enter the link (URL) for your website into the blank field. If you do not have a website feel free to skip this step.
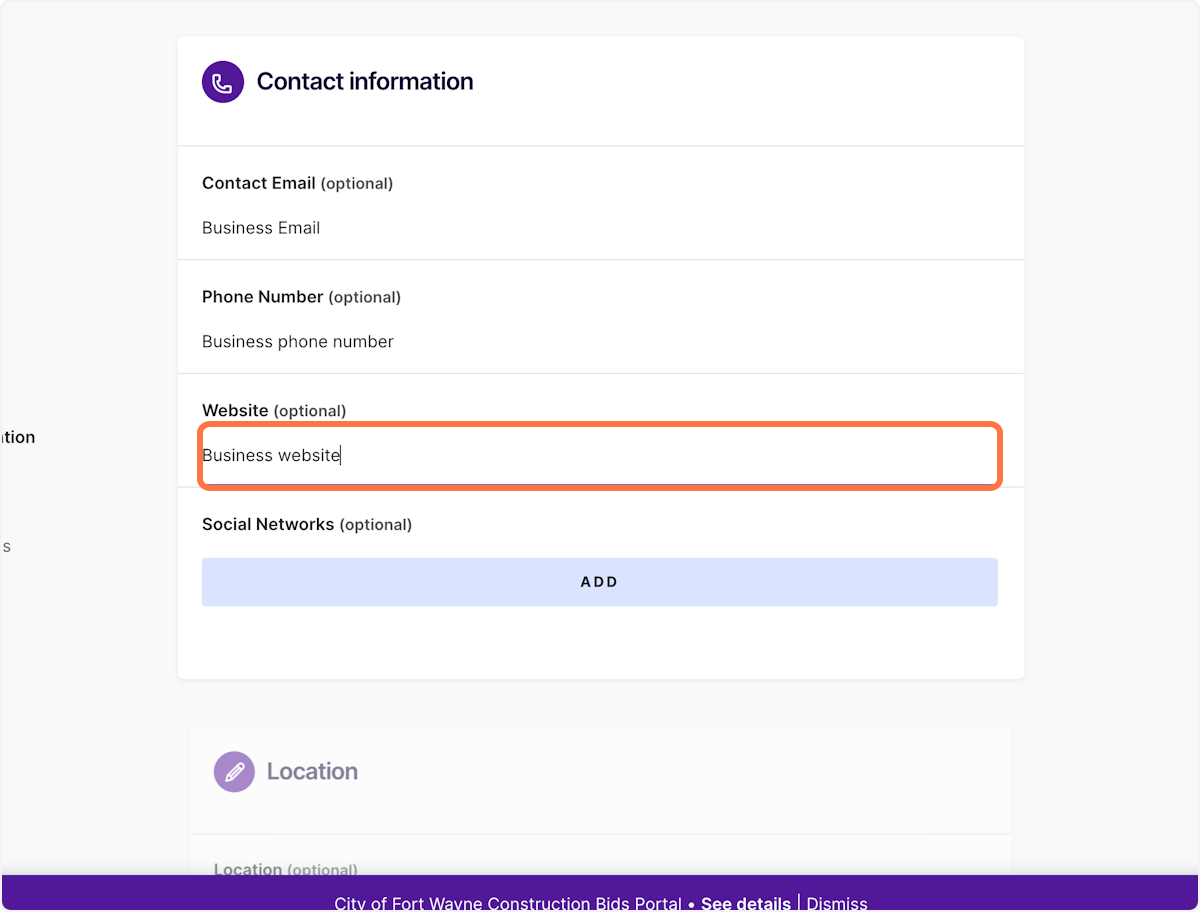
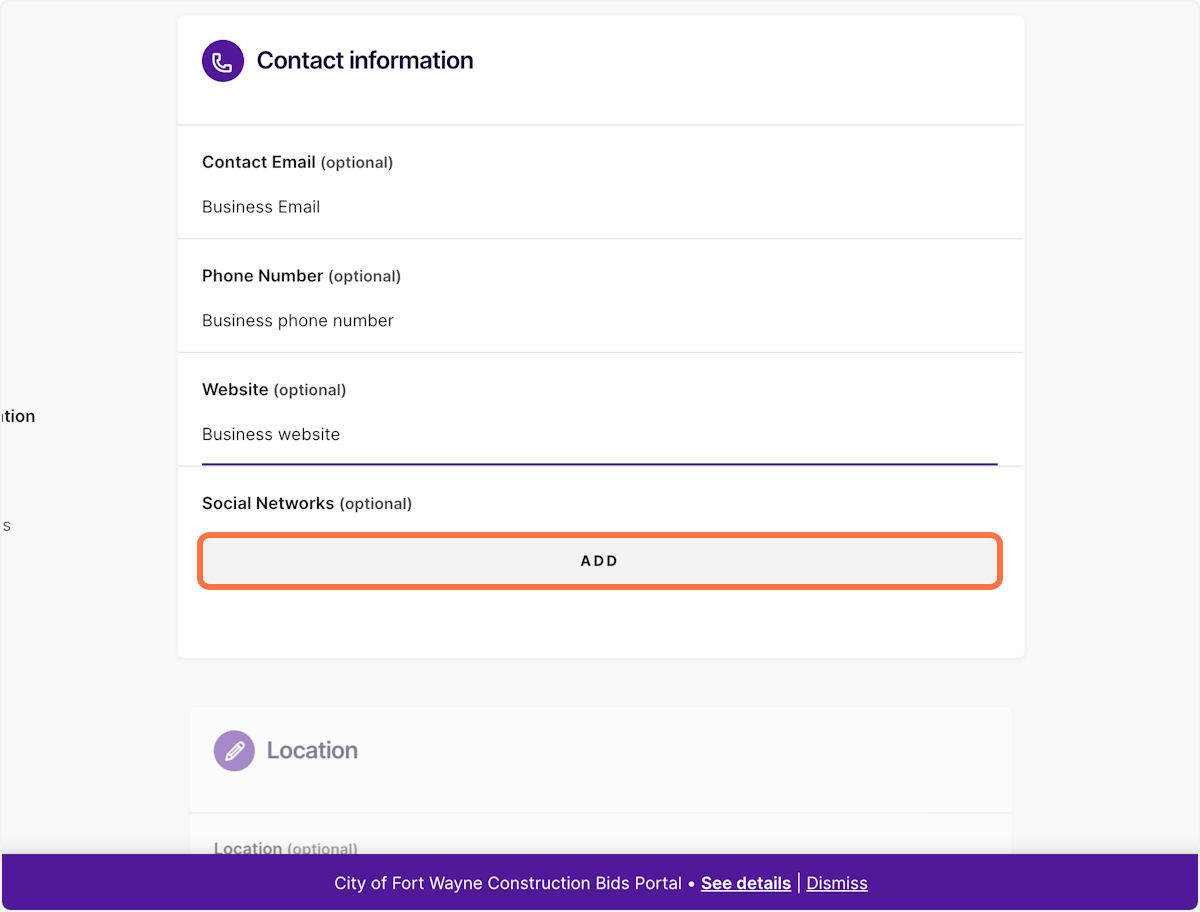
14 ) Add your ‘Social Networks’
Click on the ‘ADD’ button to add additional fields to input your Social Networks
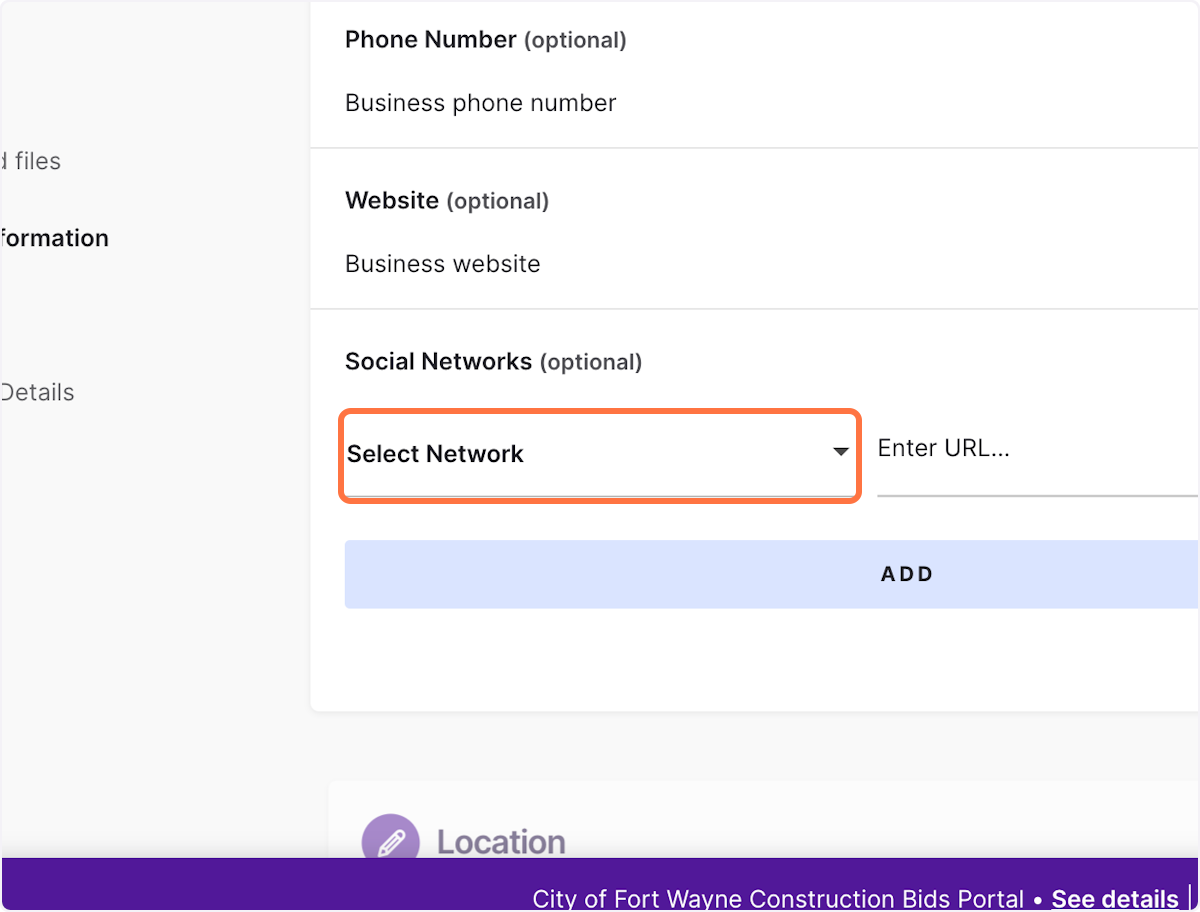
15 ) Input your ‘Social Networks’
Click the “Select a Network” drop-down then enter the URL in the blank field (on the right). Click the “Add” button to list additional Social Networks.
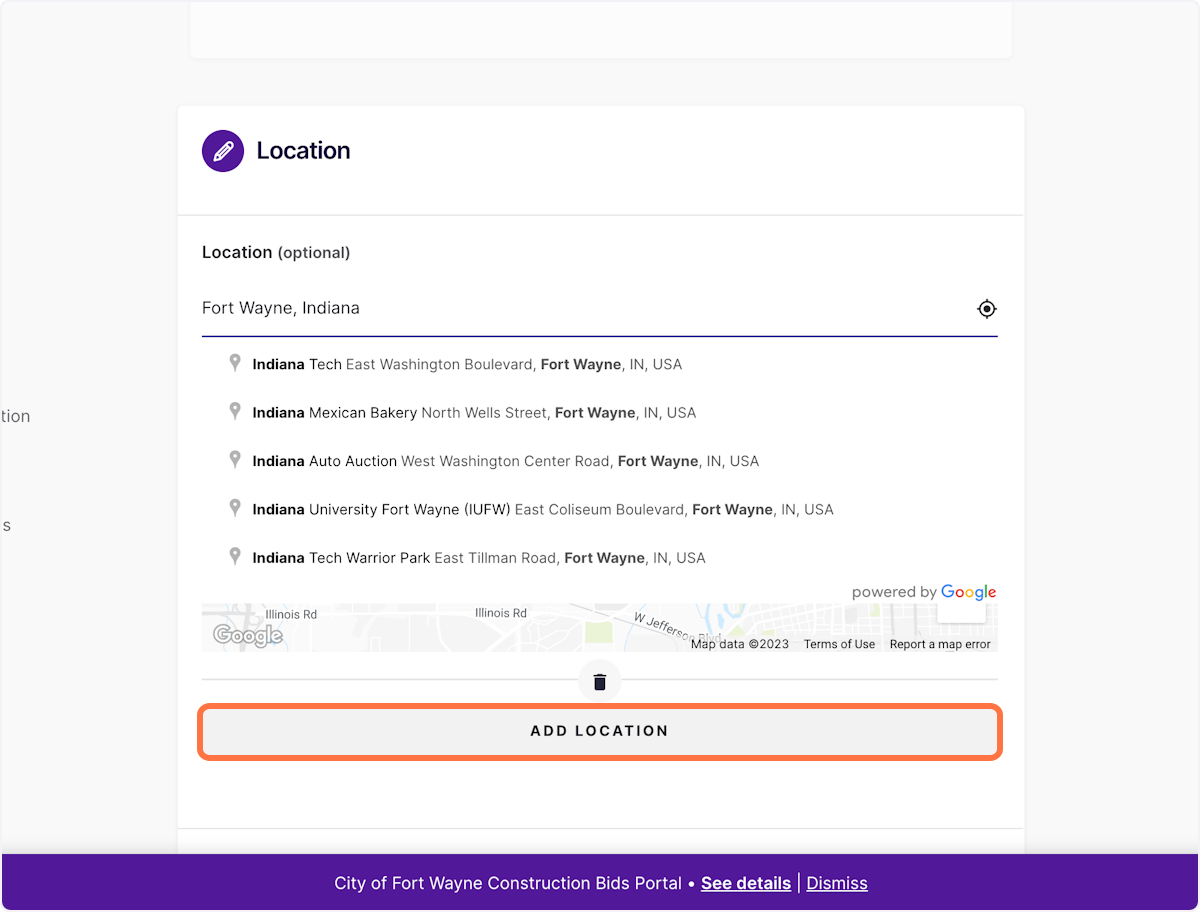
16 ) Add your ‘Business Location’
Input your location into the blank field, then click the ‘ADD LOCATION’ button to submit.
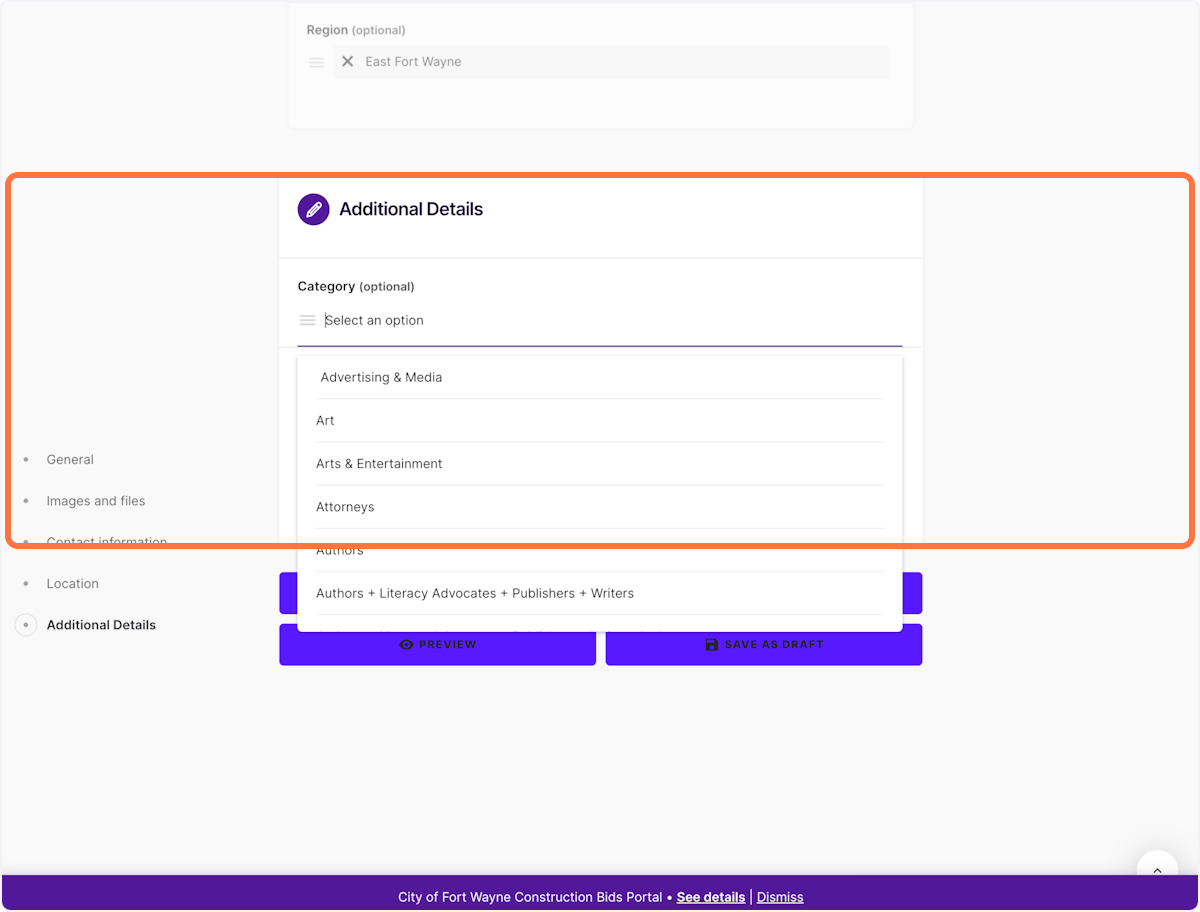
17 ) Fill in your ‘Additional Details’
Select the listing category for your business/organization
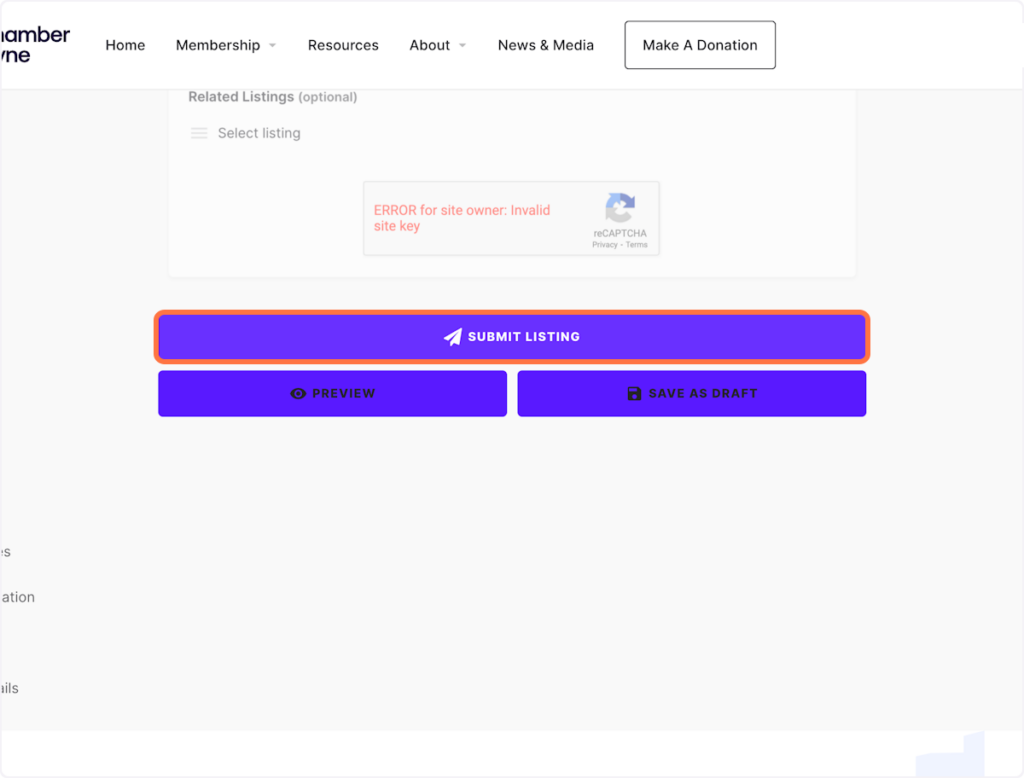
18 ) SUBMIT YOUR LISTING
After “Previewing” your information, click SUBMIT LISTING to publish your listing.